🧑🤝🧑 Teams
What is a team?
A team is a set of users from your organization, grouped based on a shared criterion, such as being part of the same department or workplace.
What are teams for?
- They allow you to manage just a portion of your organization. This is useful in large organizations where responsibilities are divided among several teams.
- They enable the creation of hierarchies. For example, a “Company” team can have child teams for each workplace, and each workplace can have child teams for departments. Each level can have its own administrators managing only their area.
- They help simplify group subscriptions: by linking groups to teams, all members of a team can automatically join certain chat groups.
- You have filters that you can configure to automatically assign people to teams based on criteria from their profile (department, location, tag, etc.). This way, when a new employee joins, they are automatically added to all the teams that correspond to their role within the organization.
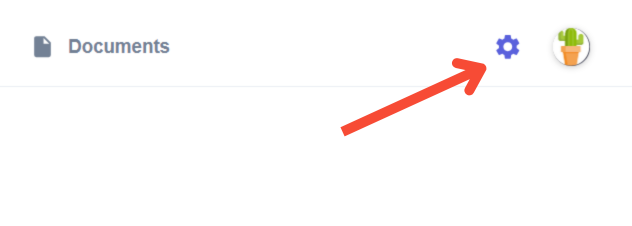
Where are teams created and managed?
In the account settings, under the Teams section.
💬 Groups
What is a group?
A chat group is where team members communicate and share content. These can be:
- Open (everyone can write)
- Read-only (only the company administrator, the group administrator or the user with writer permissions can write)
Users or entire teams can be added to groups, which appear on the main screen when users open Ommnio.
What are groups for?
- To facilitate conversation and file sharing among users, both manually or with automations.
- To allow members of open groups to communicate directly via private messages, they can open the member list and send a one-to-one message to any selected participant.
Where are groups created and managed?
-
Account Administrators can see all groups in the account settings, under the Groups tab.
-
Team Administrators can see all the groups of the teams they manage in the Groups tab.
They both can join a group they manage just by clicking the "Join" link next to each group name.
Step-by-Step Setup
1. Create teams
Go to the settings, then the Teams section, and create your teams.

You can define a hierarchy of teams. For example:
- ACME Company (Account Administrator - HR Manager)
- London Center (Team Administrator - Workplace Manager)
- Logistics (Team Administrator - Logistics Manager)
- Forklift Operators (Team Administrator - Forklift Operators Manager)
- Truck Drivers (Team Administrator - Truck Drivers Manager)
- Operations (Team Administrator - Operations Manager)
- Manchester Center
- Etc.
To create a new team, click on the button in the top right corner, in the settings, Teams section:

2. Add users to the teams
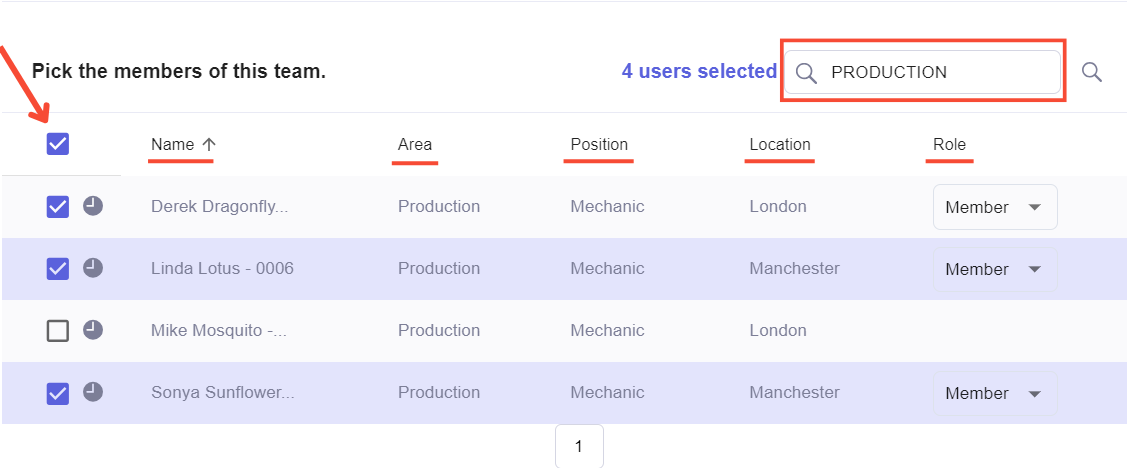
Use the search and filters to select the users you want to add, or define filters that will automatically apply whenever a new user joins and meets the team criteria. Click the checkbox next to each name—at the top, you’ll see the total number of users selected for the team.
3. Subscribe teams to chat groups
When creating or editing a chat group, you can:
-
Add an entire team by selecting it in the “Teams” dropdown
-
Add individual users manually

You must also assign a role to each team or user:
-
Member: Can read and send messages if the group is open
-
Writer: Can write even in read-only groups
-
Admin: Full control over the group
If your organization has users who manage multiple groups (like a full HR team), you can create a specific team just for those administrators and assign that team to all relevant groups as “Admin.” This way, when someone leaves or joins, permissions are updated simply by editing the team.